Materialize and AwesomeBump Alternatives You Can Use in a Browser
Choose between native desktop material authoring and browser tools for local map generation, conversion, and handoff.
Quick answer
If you mainly need a normal, height, or ORM PNG on macOS or Linux, a modern browser tool avoids installing a native editor and can keep the source local. Materialize and AwesomeBump remain useful reference points for desktop material authoring. Choose based on editable inputs, output formats, and engine handoff.
What should I compare?
| Workflow | Best fit | Before committing |
|---|---|---|
| Materialize | Iterating several maps from a source image | Check native app requirements and current distribution |
| AwesomeBump | Desktop texture transformation and preview | Check the build and graphics requirements for your OS |
| Local browser PBR generator | Quick PNG exports and cross-platform access | Check input limits and export formats |
| Channel packer | Reusing existing masks in a new shader | Verify channel order, alpha and sRGB |
| High-to-low mesh bake | Transferring sculpted geometry to UVs | Match cage, tangents and target triangulation |
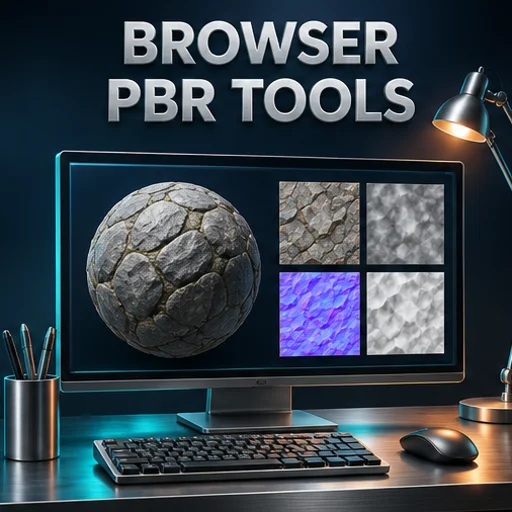
How do I test a browser alternative against a desktop result?
- Choose a material with several distinct features, such as stone chips, recessed mortar, and fine grain. Use the same source crop for both tools.
- Start with neutral settings and choose matching normal conventions. Preview both under the same side light. Check whether the large and small shapes are both still readable.
- Inspect roughness and metalness separately. A bright patch in a photo could be an actual light reflection rather than a change in micro-surface roughness.
- Import exports into your engine and compare around seams, under compression, and with the final material scale. Record the acceptable settings with the asset.
When should I keep a native workflow?
Stay with a native editor when your production process depends on editable channel-by-channel operations, a tested GPU implementation, plugins, or strict batch scripts. A small web utility works well for predictable tasks within that larger pipeline, such as flipping green after an external bake or reshuffling masks for a different shader. Keep the original files when transferring from either workflow.
Open the free browser tool to try this workflow with your own texture.
Frequently asked questions
Can a free online generator recover material measurements from a photo?
Luminance gives a useful art-direction starting point, but it cannot distinguish a dark pigment from a dent or infer physical roughness reliably. Compare with a reference and edit the generated maps before production use.
Which option is best for Linux or macOS without installs?
A browser tool works wherever the required browser image and download features are available. Check the project or release page for desktop compatibility because availability can differ between versions and platforms.