Photo to Seamless PBR Texture: 4 Steps for a Cleaner Material
Turn a phone photo into a reusable PBR starting material by cleaning lighting, checking repeats, generating aligned maps, and verifying export.
Quick answer
Photograph a flat patch under diffuse light, reduce the large lighting gradients, and crop the image so its pattern repeats naturally. Inspect it in a tiled preview before generating PBR maps. Export color and data textures separately, then check the material under neutral light. For 4K exports, start with enough usable source detail.
What should I fix before generating maps?
| Issue in the photo | First correction | What to look for |
|---|---|---|
| Trapezoid-shaped bricks | Straighten perspective | Rows run horizontally through both borders |
| Dark cast shadow | Reshoot in diffuse light or edit a copy | Shadow no longer looks like pigment |
| Bright hotspot | Change camera and lighting position | No clipped streak across the tile |
| Pattern mismatch at the edges | Recrop by whole pattern units | 3×3 preview aligns brick joints |
| Repetition obvious at distance | Choose a larger or more varied source region | Recognizable marks repeat less often |
How do I complete the workflow?
1. Capture and prepare the source
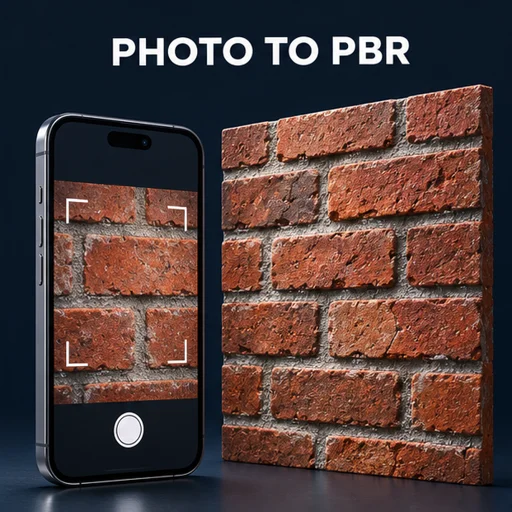
Keep the phone sensor parallel to the surface. Try an overcast outdoor capture or a broad soft light for indoor materials. Check whether the camera saved highlights without clipping. If you edit the source with AI albedo delighting or a manual correction, compare repaired details to the original. Aggressive delighting can remove pigment or alter texture structure.
2. Make the crop repeat
Align mortar or a repeated element across opposite borders. Compare 2×2 and 3×3 views. Edge blending helps when opposing colors differ mildly. If structural lines still shift at the seam, move the crop before applying the blend.
3. Derive aligned maps
Use the PBR texture generator to derive height and normal from the prepared tile. Check each map on the same crop. Treat roughness and metallic as material decisions. Unpainted wood and stone generally remain dielectrics even if parts of the photograph are dark.
4. Check the export in the engine
Use sRGB handling for Base Color and linear handling for masks. Choose the intended Y direction for the normal. Test a wide plane and a close-up. If you prepare a 4K export, compare the high-resolution source with the result at actual material scale. Extra pixels can improve an export pipeline without adding true captured detail.
Open the browser tool to try this workflow with your own texture.
Frequently asked questions
Can I make an image seamless by changing its file resolution?
Resizing changes the sampling grid. Repeating depends on how the edges meet and how the pattern reads across multiple copies. Verify both traits at the final size.
Can one photo determine all PBR maps accurately?
A single photo conflates illumination and surface properties. Use the derived maps as starting points, then adjust them against material references and test highlights and shade in the destination.