A repeatable Photoshop-to-material workflow
Preserve the layered PSD, make a grayscale conversion copy, remove defects, and keep real surface relief separate from painted lighting.
Choose the right normal-map workflow first
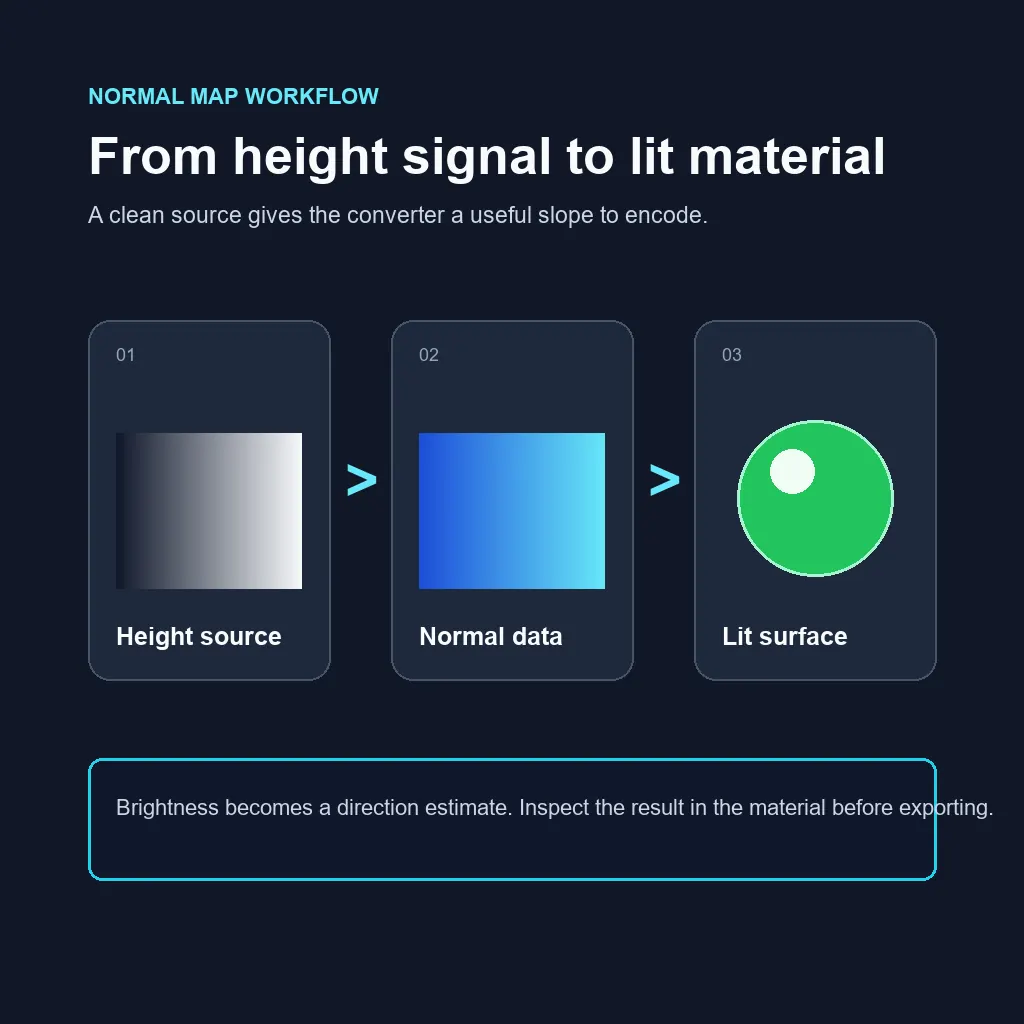
A normal map stores a surface direction per pixel so a renderer can change lighting without adding polygons. A grayscale height image stores relative elevation instead. Photoshop can edit either image, but the two formats are not interchangeable: a height-to-normal conversion estimates slopes from brightness, while baking compares actual high- and low-resolution surfaces and can encode model-specific detail.
Use Photoshop when you need to clean a painted or scanned source, build a simple relief map, or make a quick material test. Choose a 3D baker when seams, curvature, sculpted detail, or a particular low-poly mesh must match precisely. The expected output here is a tangent-space RGB map for a material, not a change to the model silhouette.
Prepare a usable grayscale height source
Start from a texture whose value changes describe surface shape. A stone groove, woven thread, or shallow stamped pattern is a better source than a beauty photograph with hard cast shadows. Convert a copy to grayscale and inspect the histogram: clipped whites and blacks remove slope information, while a narrow range can make the generated relief almost flat.
Remove dust, compression blocks, and isolated bright pixels before generation. Use a small blur only when those defects are finer than the real material detail. Keep broad lighting gradients out of the height signal; otherwise a normal map may interpret a shadow or highlight as a hill. If the texture should tile, check that opposite edges meet before and after filtering.
Keep a layered PSD as the editable source and export a flattened copy for conversion. Work at the texture’s final intended resolution when possible. Resizing later can soften the gradients that define the normal direction, so compare the exported map at the same scale and filtering that the engine will use.
Generate a normal map in Photoshop
In builds that include the legacy 3D tools, look for Filter > 3D > Generate Normal Map. The location and availability depend on the Photoshop version and installed components; Adobe has changed its 3D feature support over time. Do not assume that a tutorial screenshot from an older release matches the current application. If the command is missing, skip to the browser fallback rather than installing an unknown plug-in.
Use the filter preview to compare the source and output. Begin with a modest scale or detail amount, then increase it until small grooves read without turning into sharp ridges. The exact control names and preview can differ by build. A useful result should preserve broad forms while adding restrained surface response; stronger contrast is not automatically more accurate depth.
Save the generated RGB image separately from the grayscale source. Avoid indexed color or lossy JPEG for the final map because quantization and compression can introduce steps in the direction data. PNG is a practical interchange format, but the project’s engine import settings still determine how the channels are interpreted.
Use a browser converter when the 3D filter is unavailable
The Photoshop-specific filter is optional. A browser converter can calculate a tangent-space normal map from a grayscale height source and gives direct controls for strength, blur, contrast, and Y direction. This is often easier to reproduce than a legacy filter whose controls differ between Photoshop builds.
Open the image-to-normal-map tool for a general source, or the height-map converter when the grayscale channel already represents elevation. Select a preview surface, make small parameter changes, and export only after checking the result. The site’s free conversion runs in the current browser tab; the source image is not sent to its conversion endpoint.
This route still estimates normals from pixels. It will not recover hidden geometry, correct perspective, remove baked lighting automatically, or replace a mesh bake. For a detailed asset, keep Photoshop for cleanup and use a dedicated baker for the final mesh-specific map.
Check the green channel and validate the map
OpenGL-style and DirectX-style tangent-space maps differ by the direction represented in the green channel. If a groove shades like a ridge, the first diagnostic is to toggle Y or green-channel inversion and compare both versions under the same light. Do not flip red and green together unless the target pipeline specifically requires it.
A flat image viewer cannot tell you whether a map works in the material. Import the PNG as normal data, connect it to the shader’s Normal input, and inspect a sphere plus the real asset while rotating a directional light. Check the intended UV scale and repeat mode. Seams, pinched highlights, or noisy sparkle can come from the source, UVs, compression, mipmaps, or an overly strong map.
Use a geometry bake when the shading must follow a sculpt or a particular mesh. Use a height-derived map for repeated surface relief and quick look development. These are complementary workflows, not quality levels of the same operation.

A repeatable Photoshop-to-material workflow
- 1
Duplicate and prepare
Preserve the layered PSD, make a grayscale conversion copy, remove defects, and keep real surface relief separate from painted lighting.
- 2
Generate a first pass
Use the available Normal Map filter or the browser height converter. Start with conservative strength and save a separate PNG.
- 3
Import as data
Set the image to the engine’s normal-map texture type or Non-Color/data mode. Do not apply display-color correction to the direction channels.
- 4
Connect and light
Connect RGB to the material Normal input and test a sphere and the target mesh under a moving directional light.
- 5
Fix direction and scale
Toggle green-channel direction if relief is inverted; lower strength or blur lightly if detail is swollen or noisy.
- 6
Export for the target
Use a lossless source, then verify compression, mipmaps, wrap mode, and resolution in the actual project.
Settings to check before export
These are starting checks, not universal numeric values. The renderer, texture scale, and source determine the final result.
| Decision | Starting point | Why it matters |
|---|---|---|
| Source values | Grayscale; brighter means relatively higher | The conversion reads luminance change as a slope. |
| Detail strength | Begin low; raise only until relief is visible | Excess strength creates inflated, plastic-looking surfaces. |
| Blur | Use a small amount for isolated pixel noise | Heavy blur erases fine slopes and can soften seams. |
| Green channel | Match the target tangent-space convention | A mismatch makes dents shade like bumps. |
| Color treatment | Import as normal data / Non-Color | Color transforms alter vector values. |
| File and size | Lossless PNG at the planned texture size | Compression and later resampling can introduce artifacts. |
Before calling the map finished
- The source brightness represents relief rather than baked highlights or cast shadows.
- The map is imported as normal data and connected to the material Normal input.
- The green-channel choice has been tested under the same moving light.
- The material has been checked at final UV scale, wrap mode, and camera distance.
- A mesh bake is used when sculpted geometry or exact mesh correspondence is required.
Photoshop normal-map problems
| Decision | Why it matters | Starting point |
|---|---|---|
| The 3D filter is missing | The installed Photoshop build may not include the legacy 3D command. | Prepare the grayscale source in Photoshop and use the linked browser converter or a dedicated baker. |
| Grooves look raised | The green-channel direction may not match the renderer. | Toggle Y/green inversion, reimport, and compare under the same light. |
| The material looks plastic or noisy | Strength, contrast, baked lighting, or high-frequency defects may be excessive. | Lower strength first, clean the source, and apply only a small blur if necessary. |
| The image looks correct but the shader does not | It may be imported as color, connected to the wrong input, or sampled with a mismatched convention. | Use normal/data import, connect to Normal, and inspect UVs, compression, and mipmaps. |
| The texture repeats with a seam | The source edges or filtering are not tileable. | Fix opposite edges in the source, regenerate, and test the repeating material under light. |
Frequently asked questions
How do I create a normal map in Photoshop?
Prepare a clean grayscale height source, then use Filter > 3D > Generate Normal Map if your installed Photoshop build exposes that legacy command. If it is missing, use a height-to-normal browser converter or a dedicated baker. Export a lossless map and validate it in the target shader.
Can Photoshop generate a normal map from any image?
It can make a starting point from many images, but brightness must correspond reasonably well to surface relief. Portraits, hard shadows, reflections, and painted highlights often become false bumps. Clean the source or use a material texture with more consistent lighting.
Why is Generate Normal Map missing in Photoshop?
Adobe has changed 3D feature support across Photoshop releases and installations. Menu availability can vary, so verify against the documentation for your current version. Use a browser converter or a 3D baker if the command is not installed.
How do I invert a normal map in Photoshop?
For tangent-space maps, inversion usually means changing the green/Y direction, not simply inverting every channel. Use a converter’s Invert Y control or apply the specific channel operation required by the renderer, then test under the same light.
Should I use OpenGL or DirectX for a normal map?
Use the convention expected by the engine or asset pipeline. They commonly differ in the green channel. If unsure, test both on a simple sphere and keep the version whose grooves and ridges respond as expected.
Is a Photoshop normal map the same as a baked normal map?
No. A height-derived map estimates direction from pixel gradients. A baked map records the difference between high- and low-resolution geometry and can preserve sculpt-specific detail. Photoshop is useful for source editing, but not a substitute for a mesh bake when exact correspondence matters.